Introduction
This week was Molding and Casting. We had to do or modify a 3D model and the mold it.Documentation
After Neil's lecture, our instructor told us about the differents materials we could uese for this week and explained us how to use 3D Cut, in order to prepare a file for the Roland Mill. Then, as always, I've read Shelga's page, in order to see what to do and what not to do this week.I've watched this tutorial by Saverio Silli on youtube. He explains the differences between materials, how to use them, and everything related.
3D model
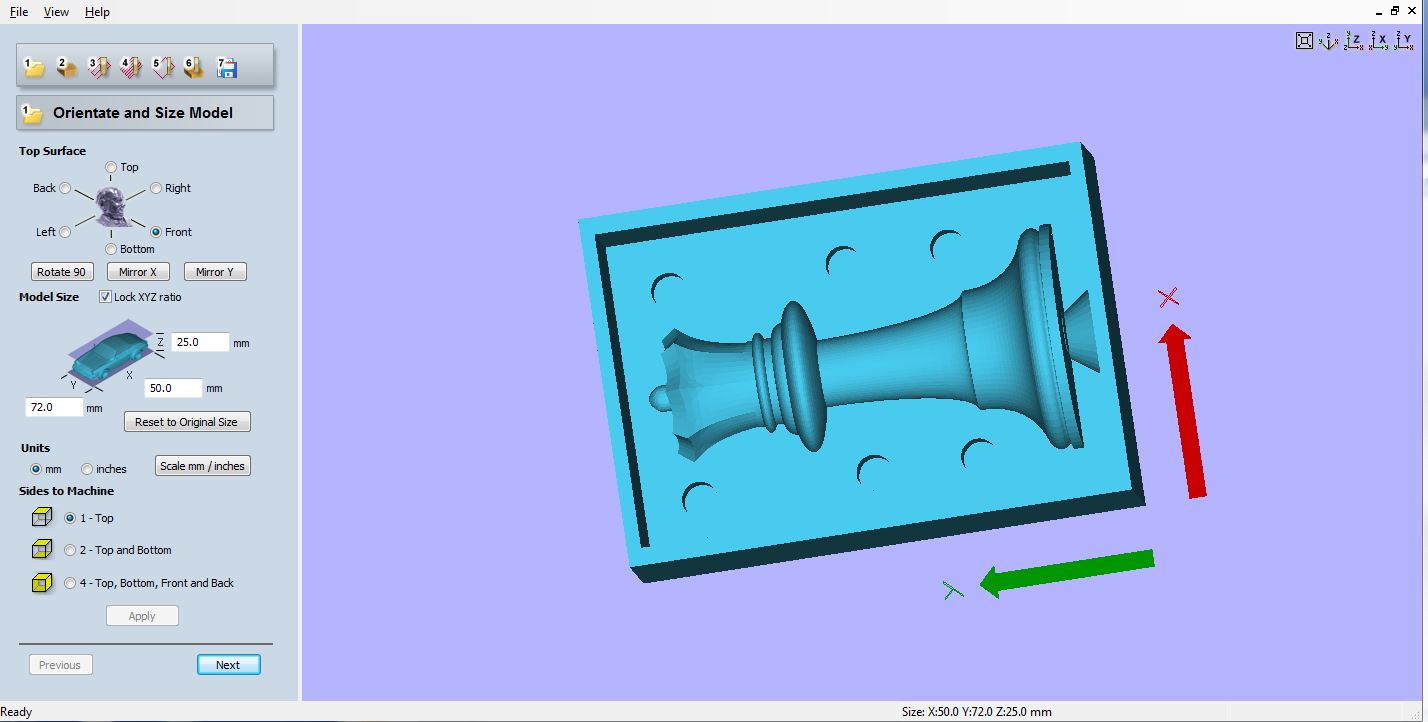
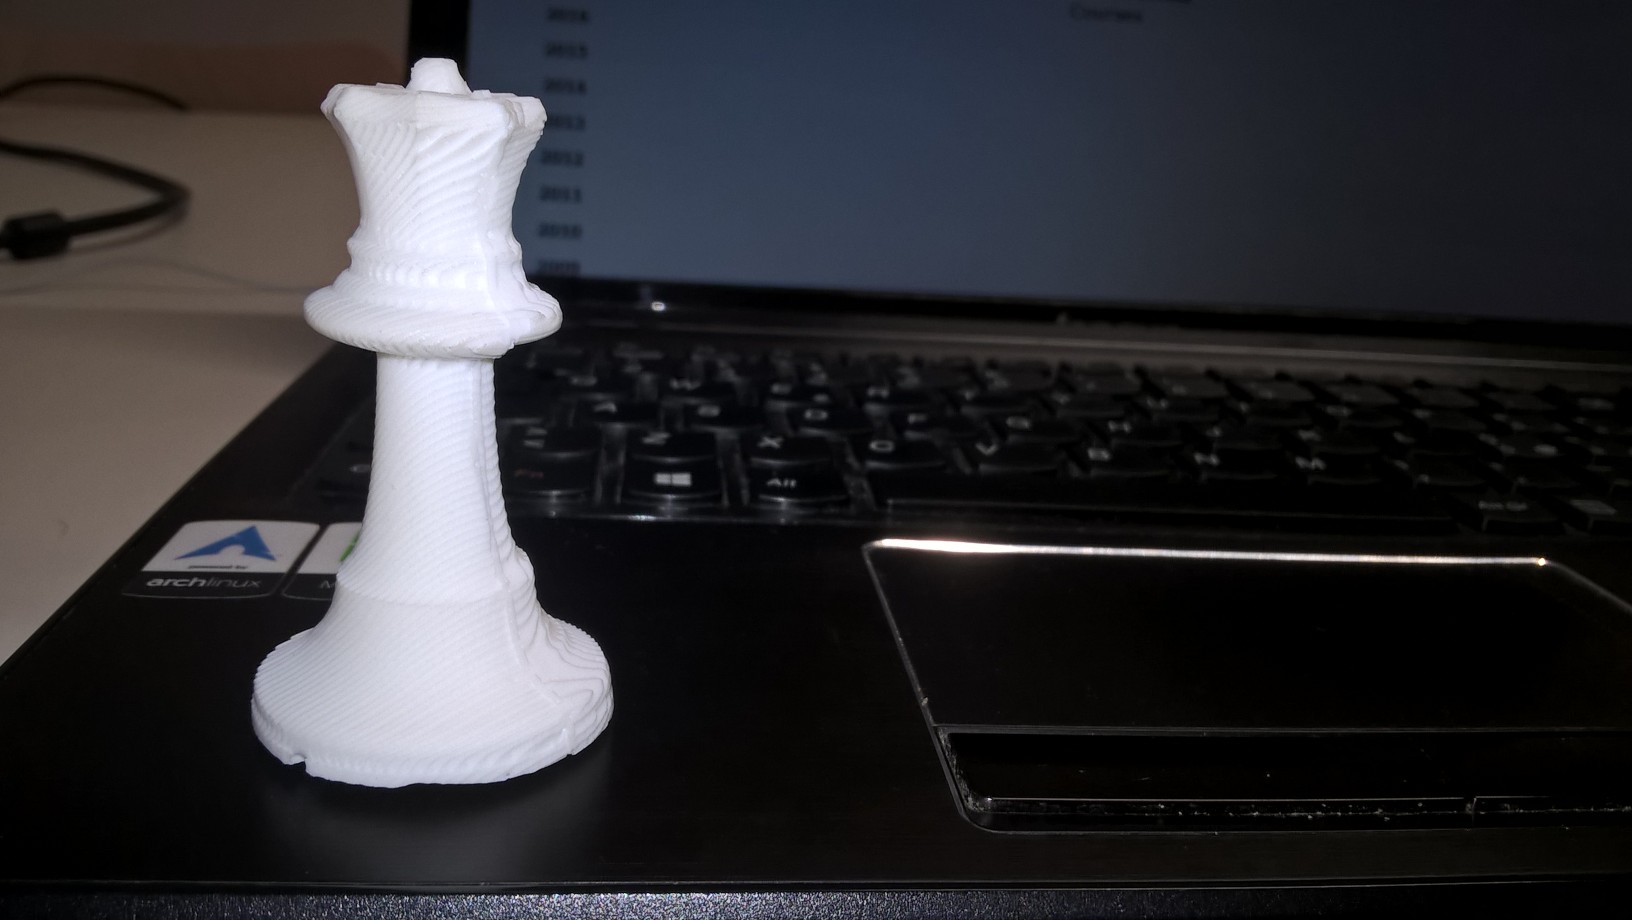
Our instructor suggested us to do something small, since the milling part would have been really long, for this reason I decided to do the queen of the chess. I downloaded the model from thingiverse and then I started to modify it. In a first moment I tried to use Rhinoceros to do the job, but I failed. Then Diego explained me how to do it in Blender. I've used Blender just a few times before this week, so it was pretty interesting. Basically I made a "cage" around my model, and I put 6 "keys" so it would have been much more stable during the cooling part. Here you can see the model: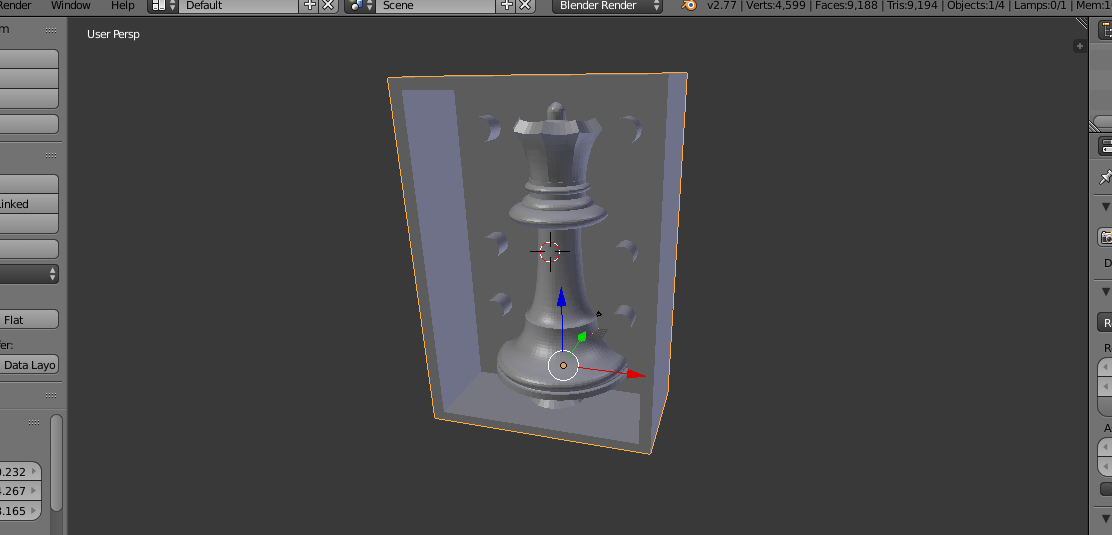
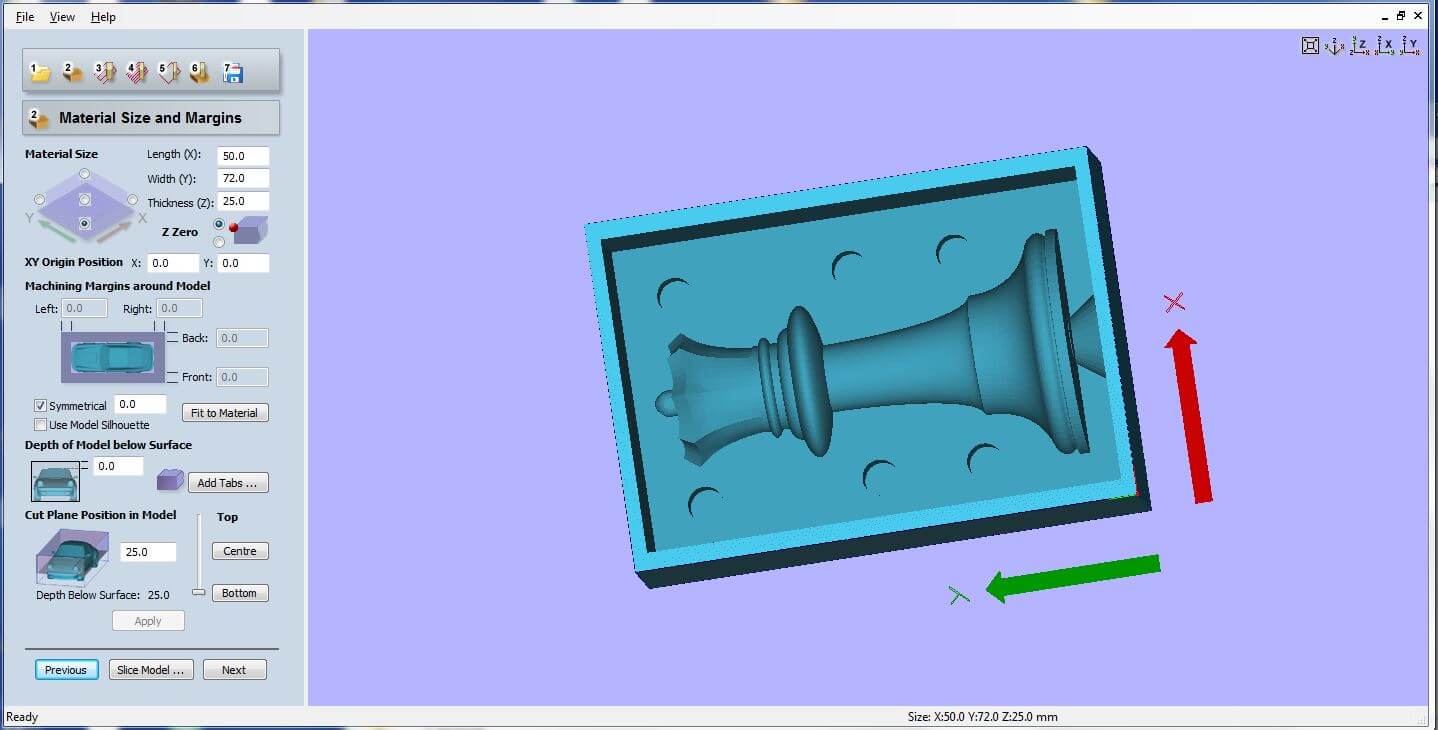
I also did a "negative" half, where instead of the cilinders there are 6 holes. The important part here is that when you will pour the material on the wax, the "positive" half will be the negative, and the "negative" will be the positive. It may sound a little weird, but I'll show you later in this page what I mean.
This is the positive side:
Queen positive side by bangalore on Sketchfab
And this is the negative side:
Queen negative side by bangalore on Sketchfab
Once the model was ready I opened 3D Cut, and I started to edit the .stl.3D Cut milling
3D Cut allows you to upload a .stl file and modify it in order to send it to the roland. Basically we are sculpting a 3D model, and it's interesting since we used both the Roland Mill and the Shopbot only for 2D models until now.
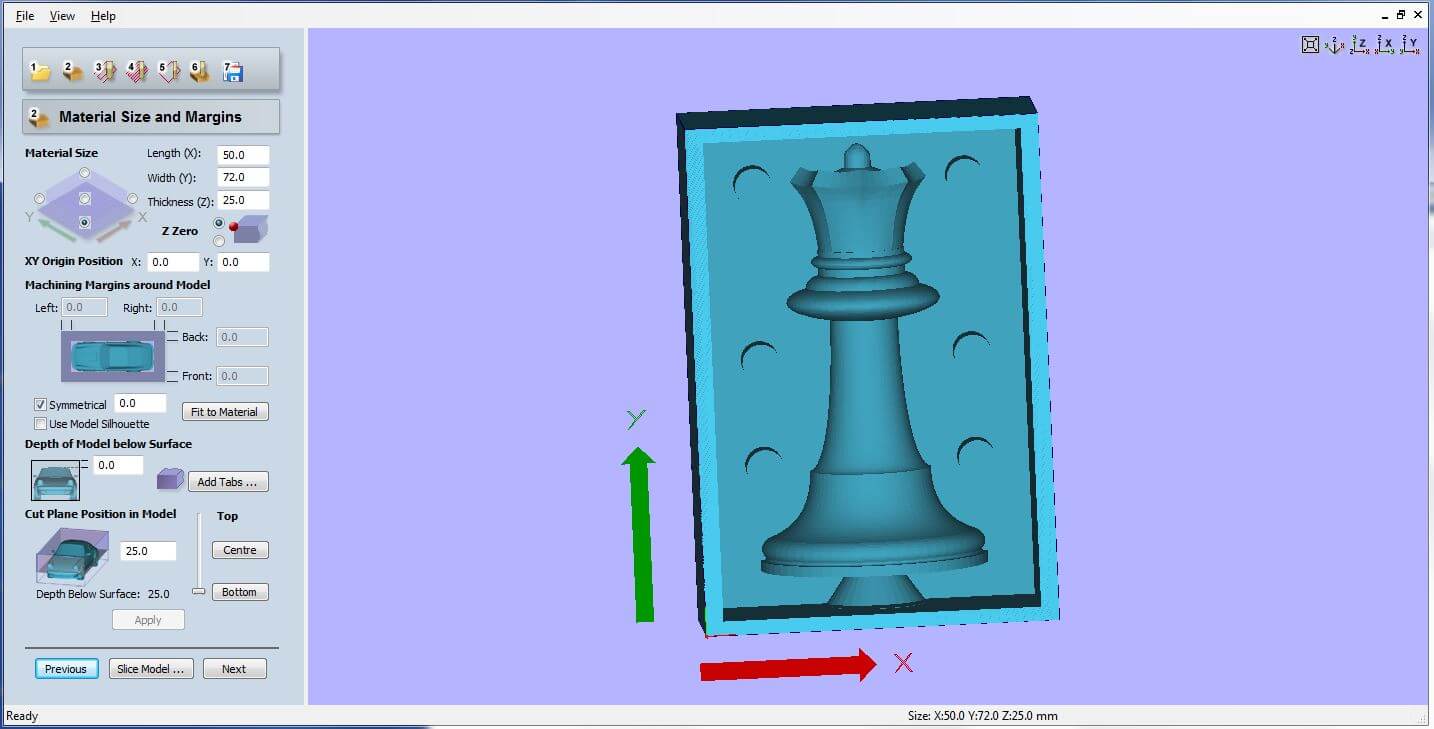
3D Cut is pretty easy and really friendly, it guides you throug 7 steps, in each steps you have to insert some settings, and in the end he does a preview of the cut. I had to do 2 cuts: the first one is really basic and it cut out the most part of the wax; the second one deifines your model.
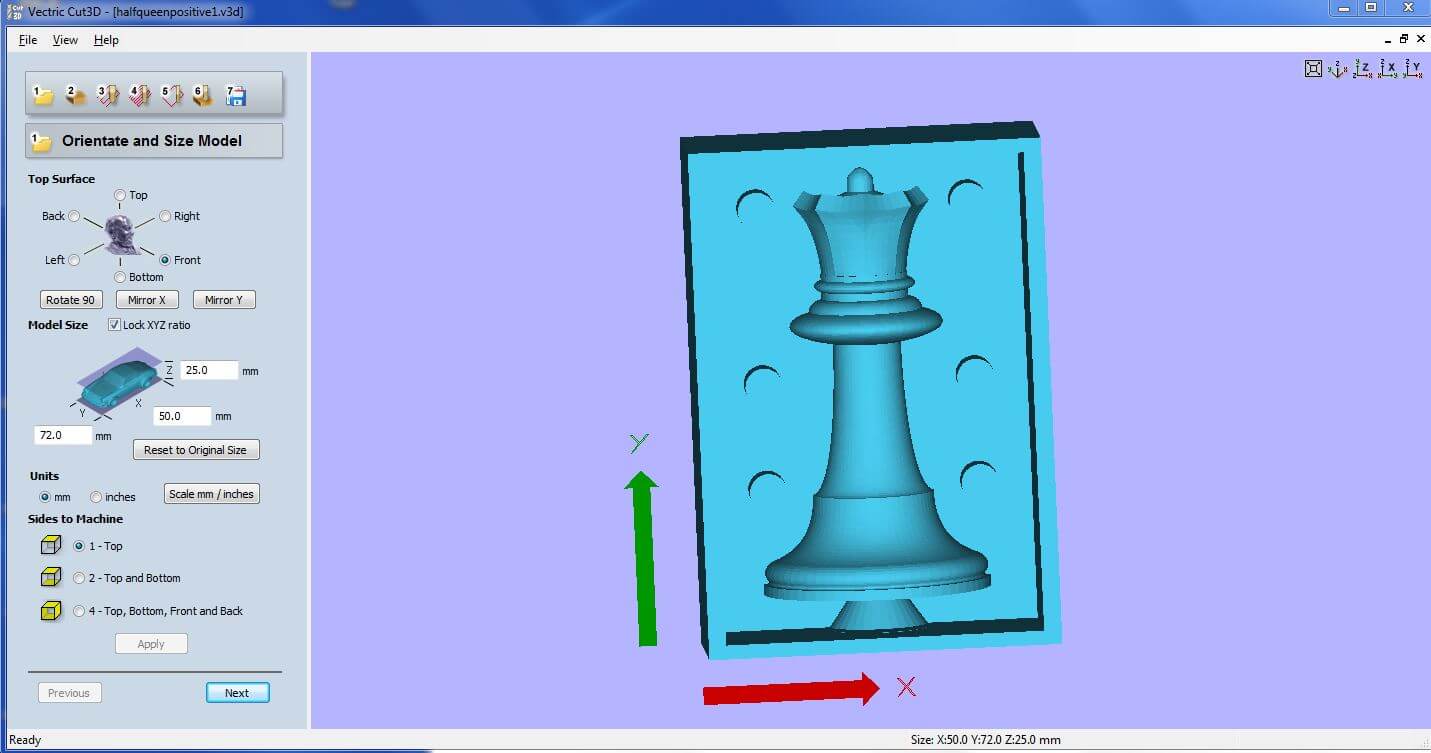
This is Cut3D's workflow:
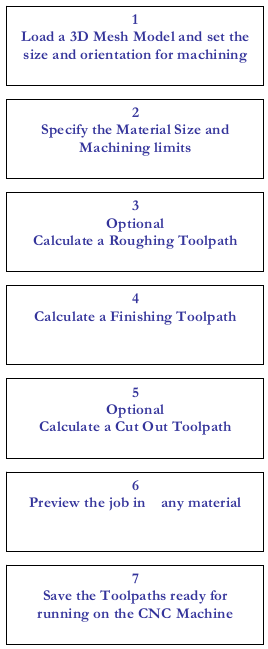
Positive model on 3D cut
Negative model on 3D cut:
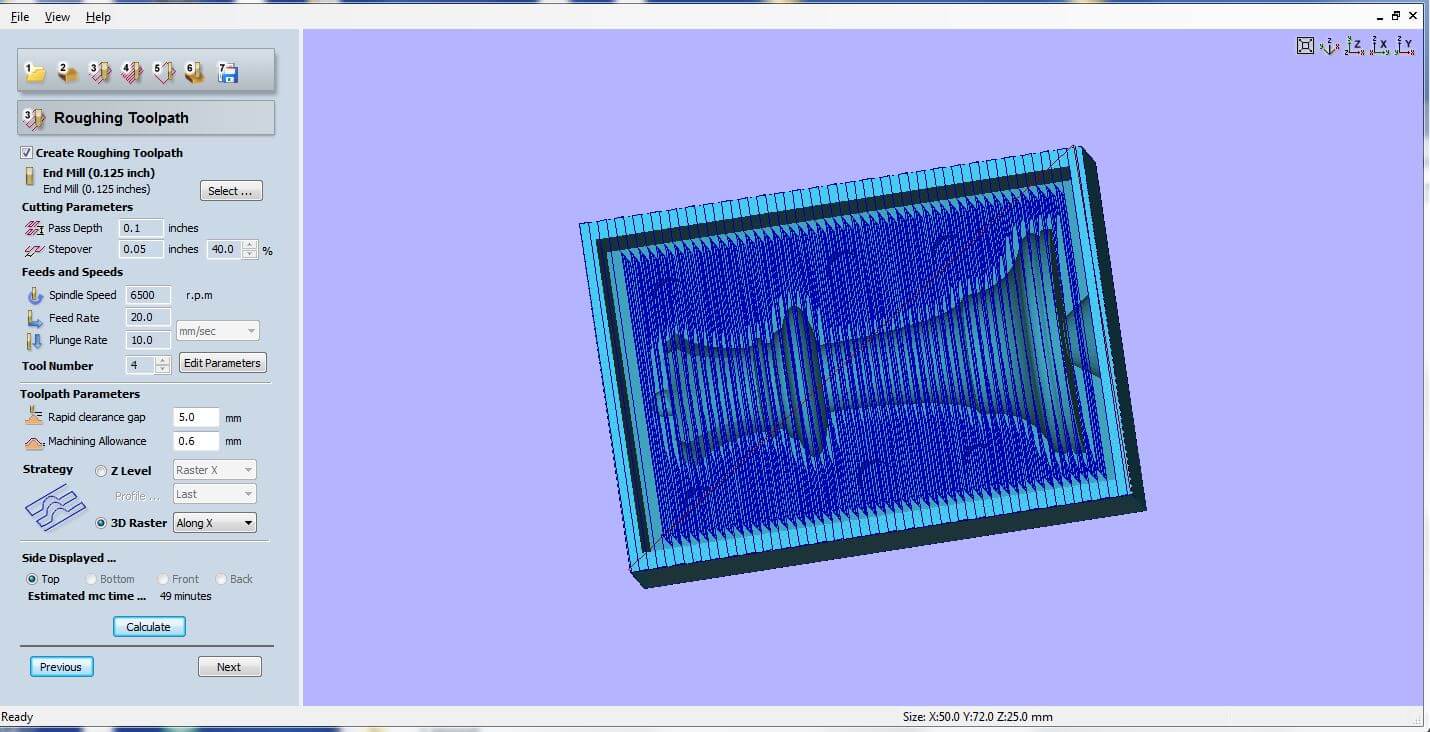
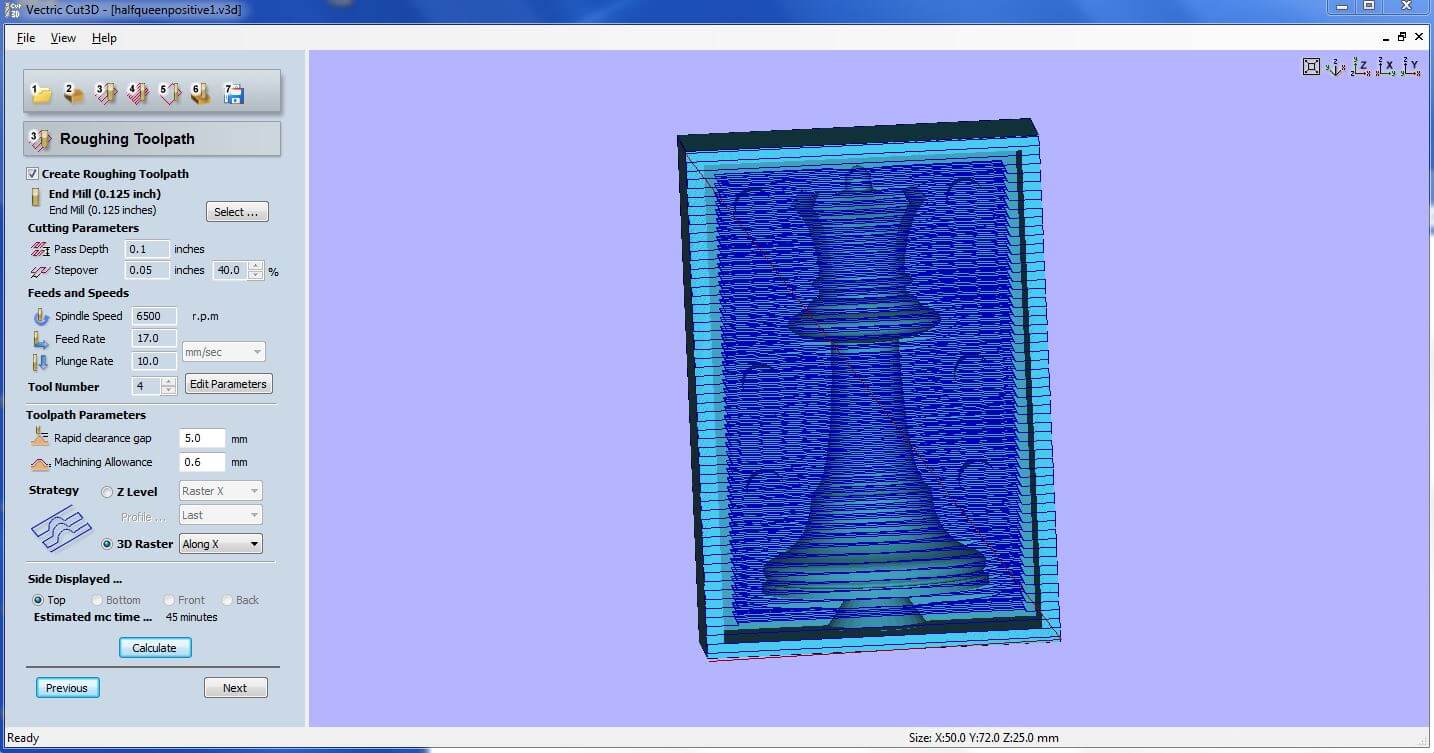
 This is the roughing toolpath, it just milled the most part of the wax:
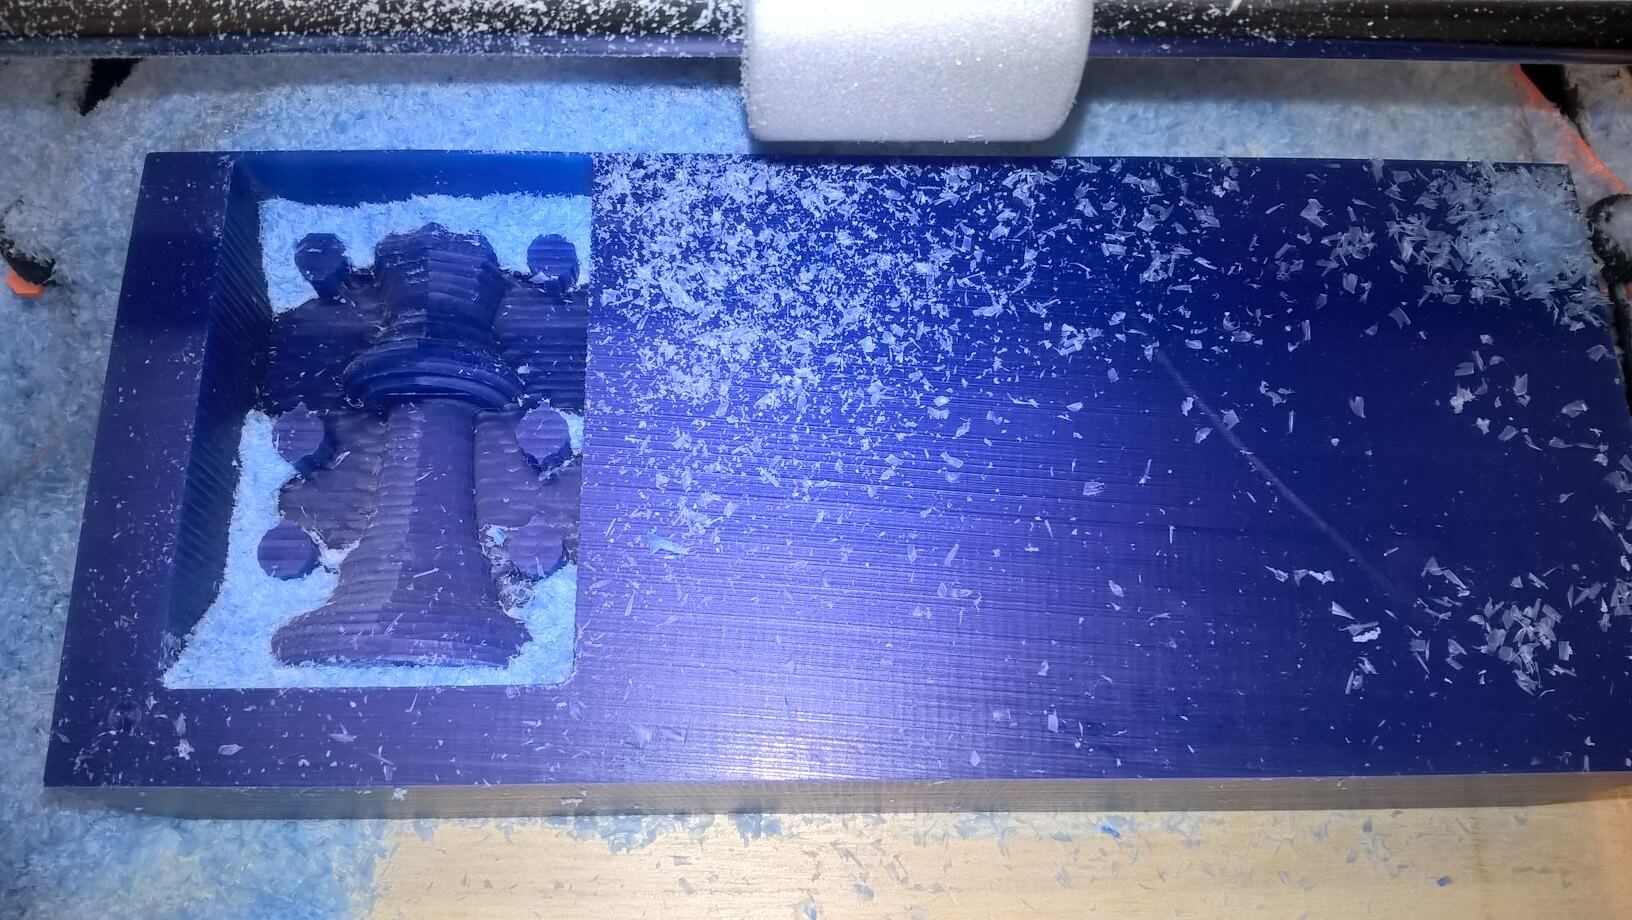
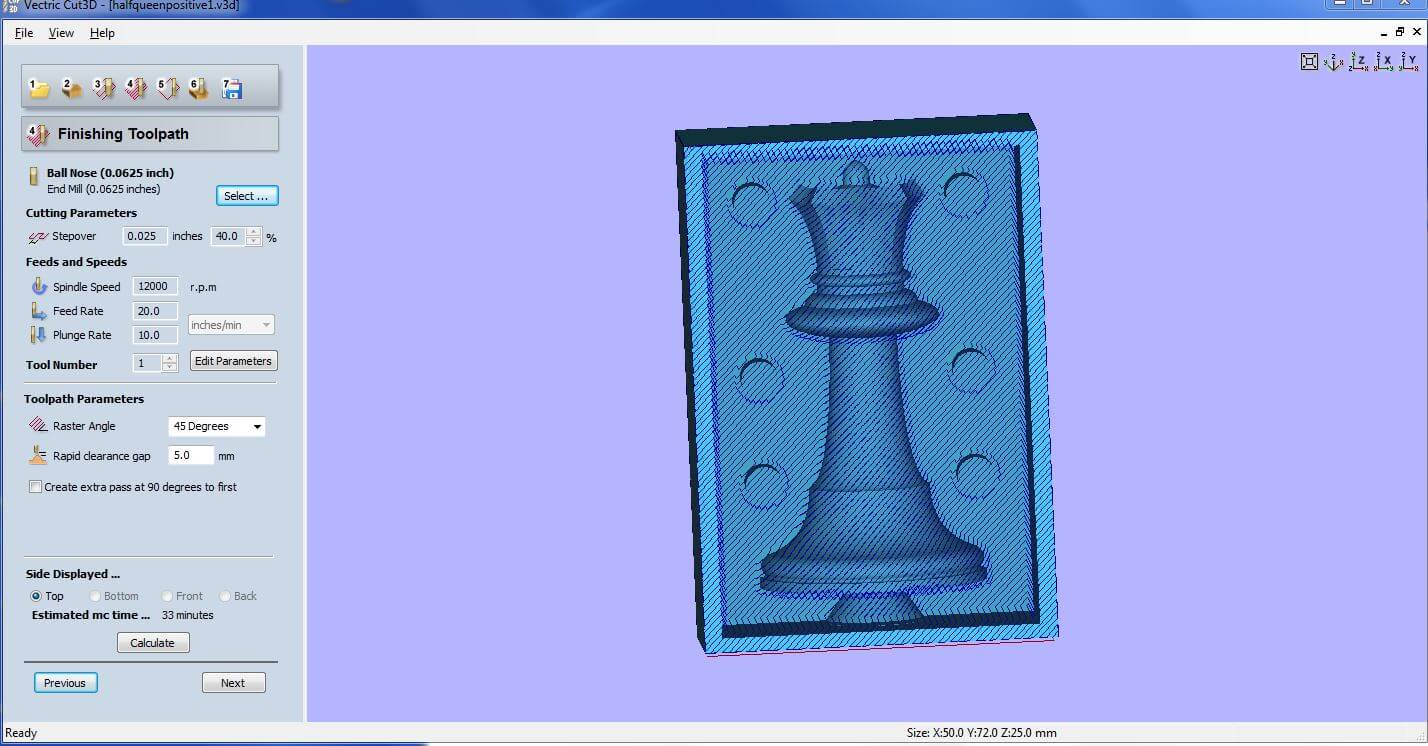
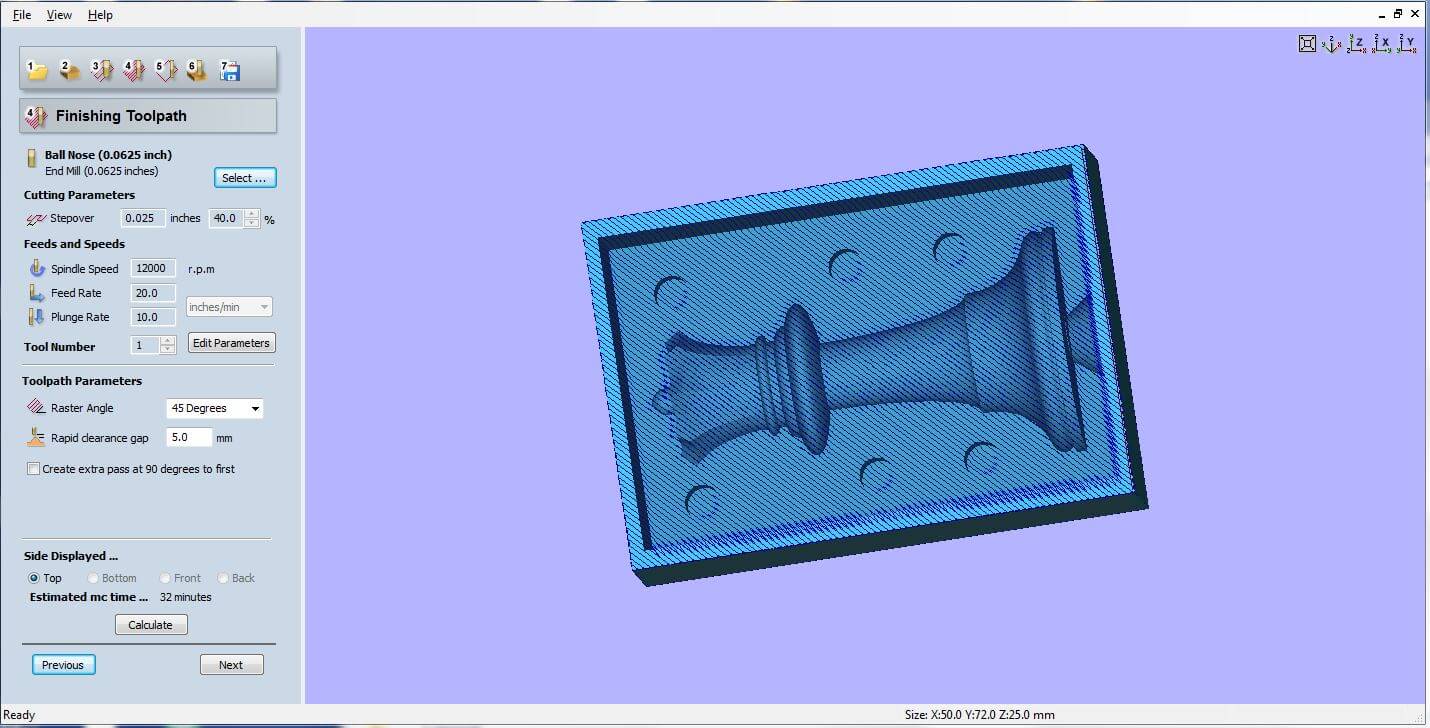
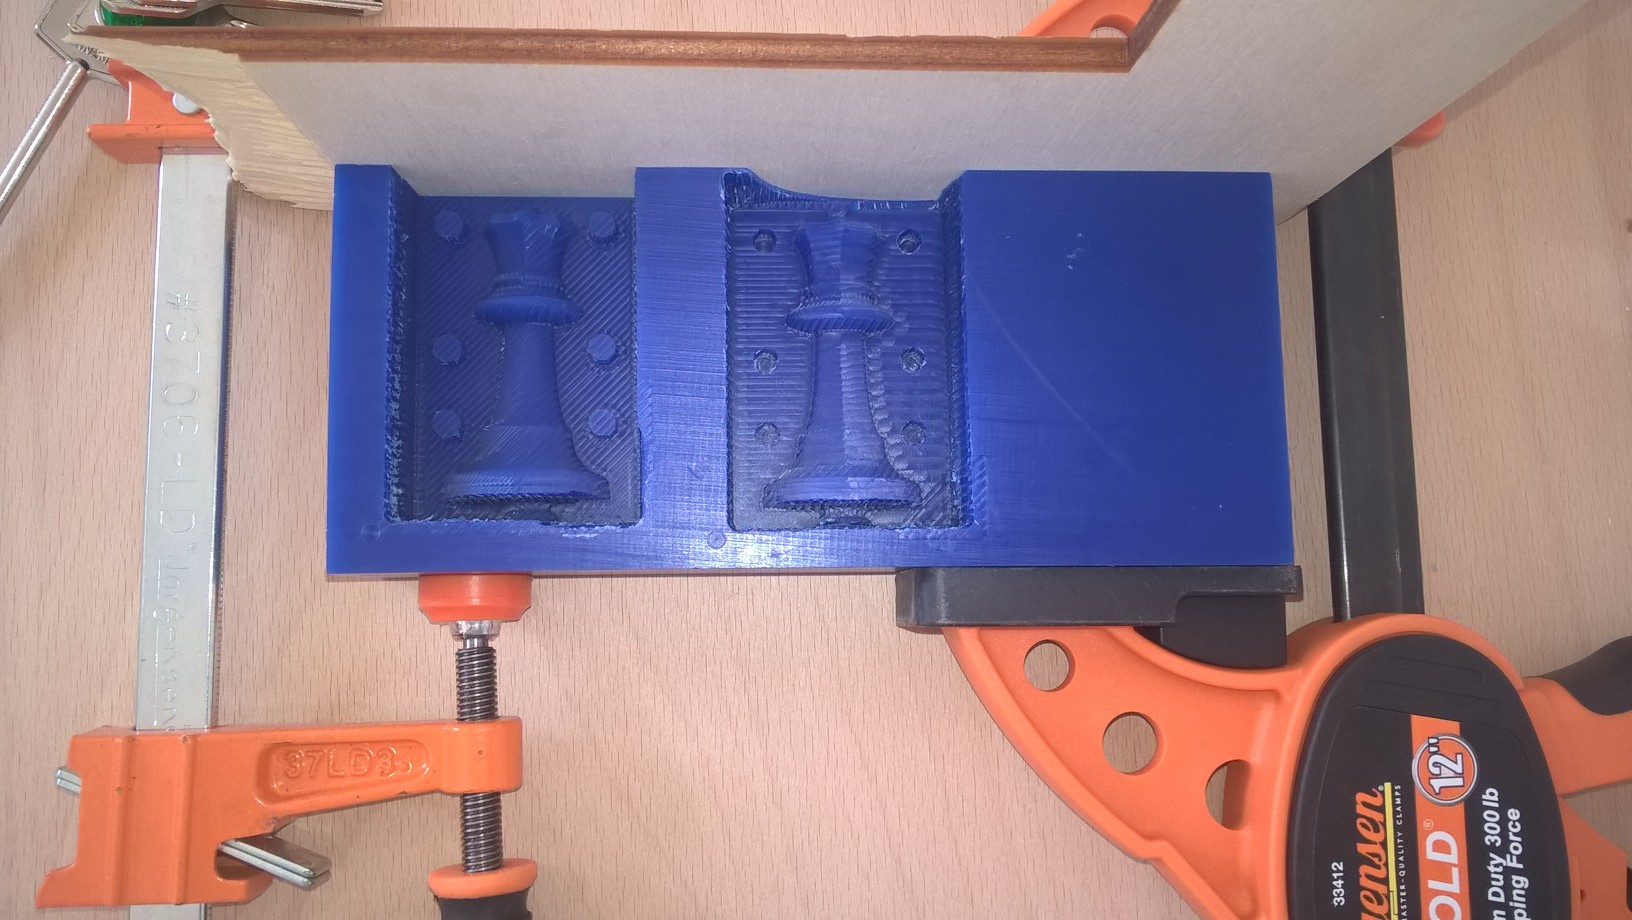
This one is the finishing toolpath, it milled the last part of the wax, milling
the details of my model. As you can see, the drill broke one of the wall of the wax brick:
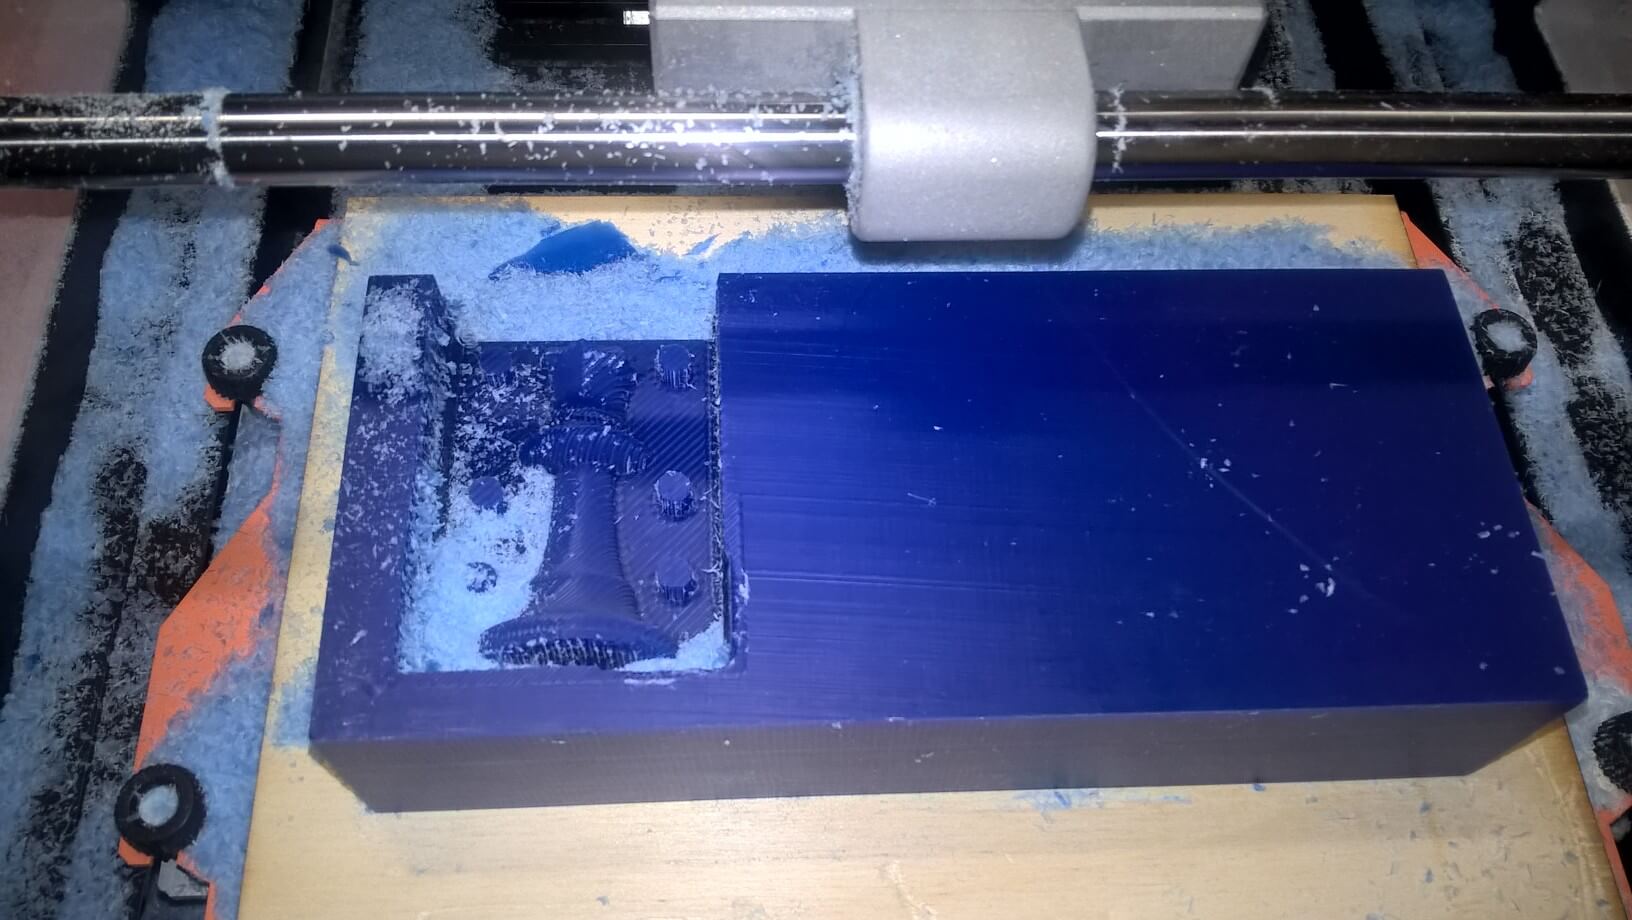
In order to pour the oomoo, I clamped a piece of wood to the top part of the wax brick:
Here you can see all the materials I used in order to finish my mold:
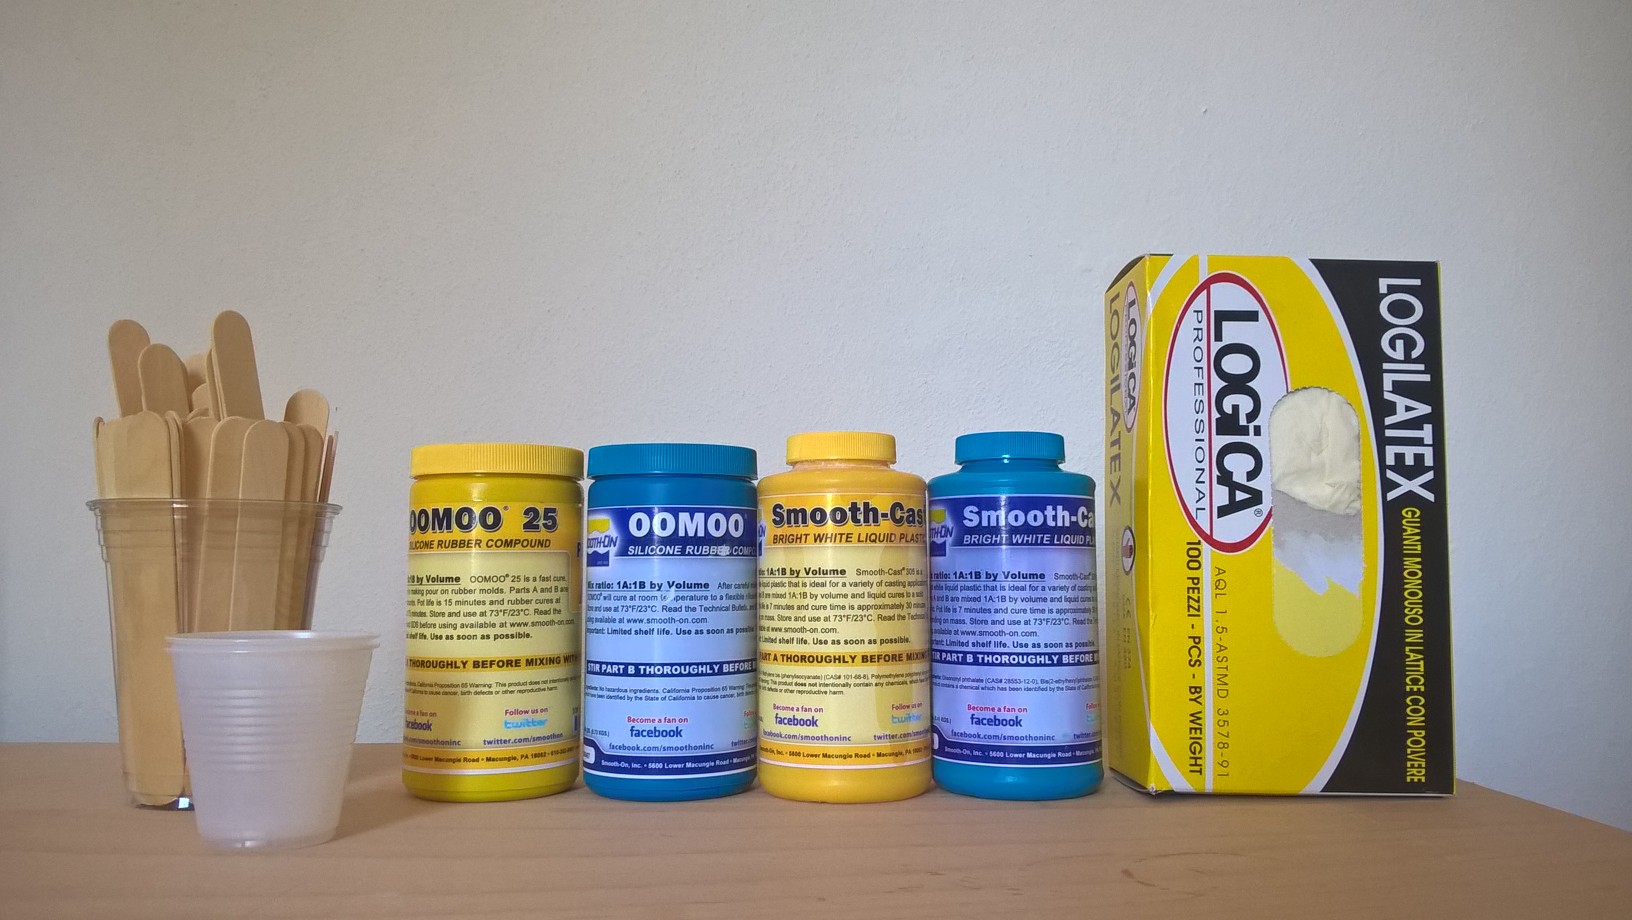
- Oomoo is used as silicone. It's a really user-friendly material. It doesn't need vacoom degassing, you have to mix it for a couple of minutes and then let it pose for 75 minutes. We use it on the wax beacuse Oomoo does not reach high temperature when mixed, so it doesn't damage the wax.
- Smooth Cast 365 is a casting resin, really easy to use. Once the mold in Oomoo is ready, we pour Smooth Cast in it.
- We use two different wood sticks when we mix the materials. Oomoo and Smooth Cast are made by two different components, you have to combine them in equal measure and then mix them with a wood stick. We use stick because it doesn't react with other components.
- Gloves, as it's a dirty job
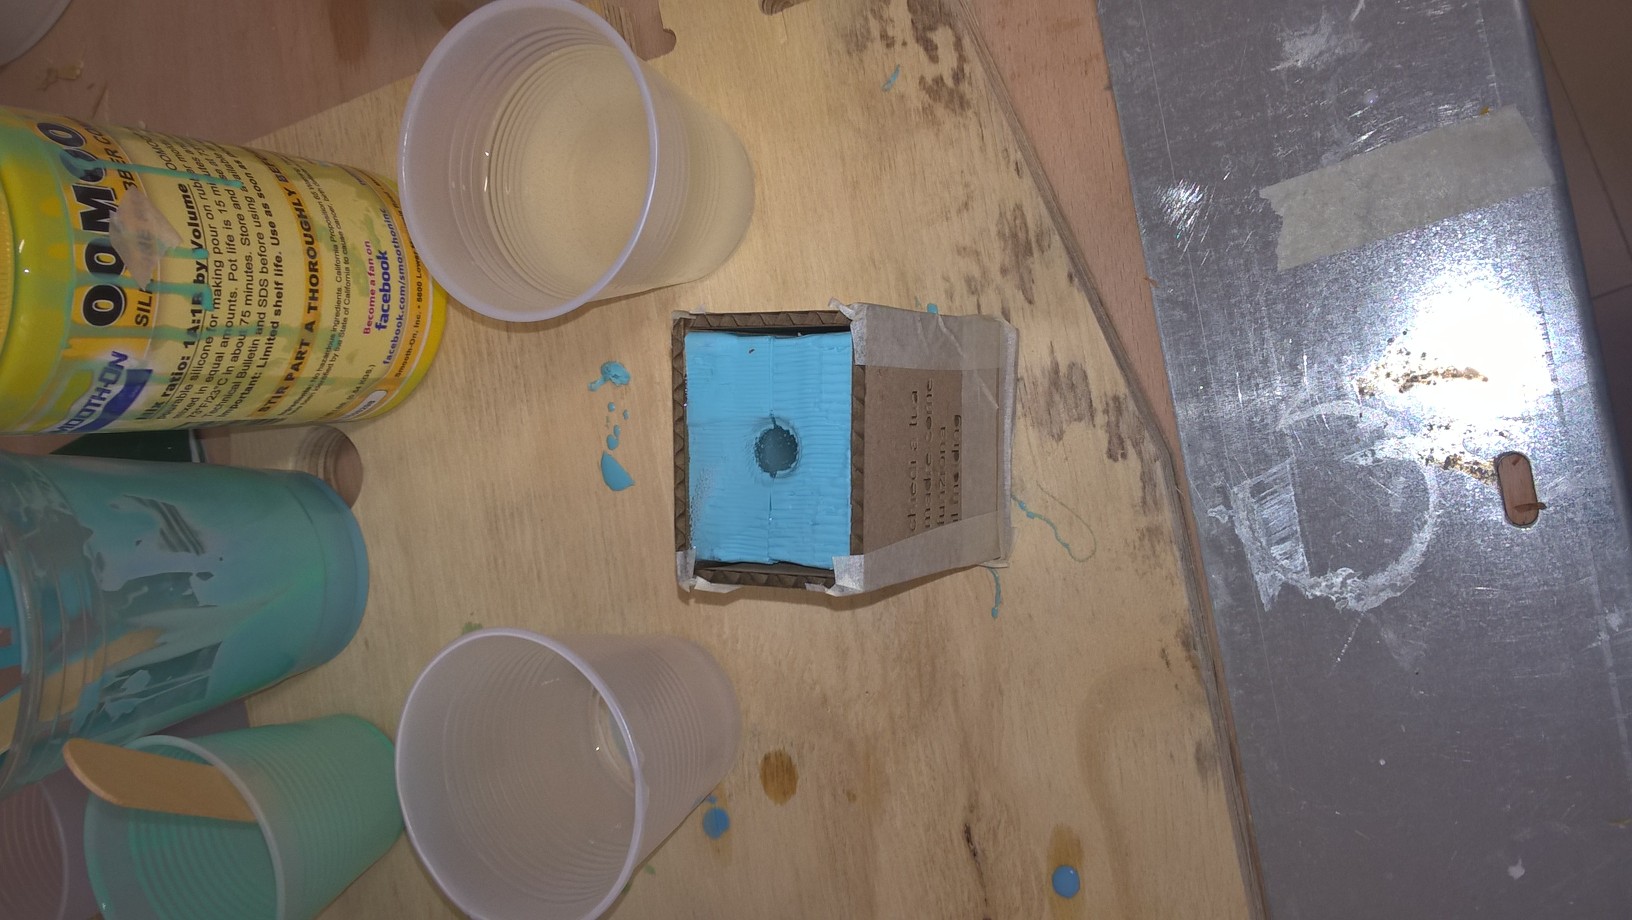
Once the wax was ready, I pured the Oomoo. Oomoo is a great material, you have just to wait 75 minutes to have it finished.

Partial result:

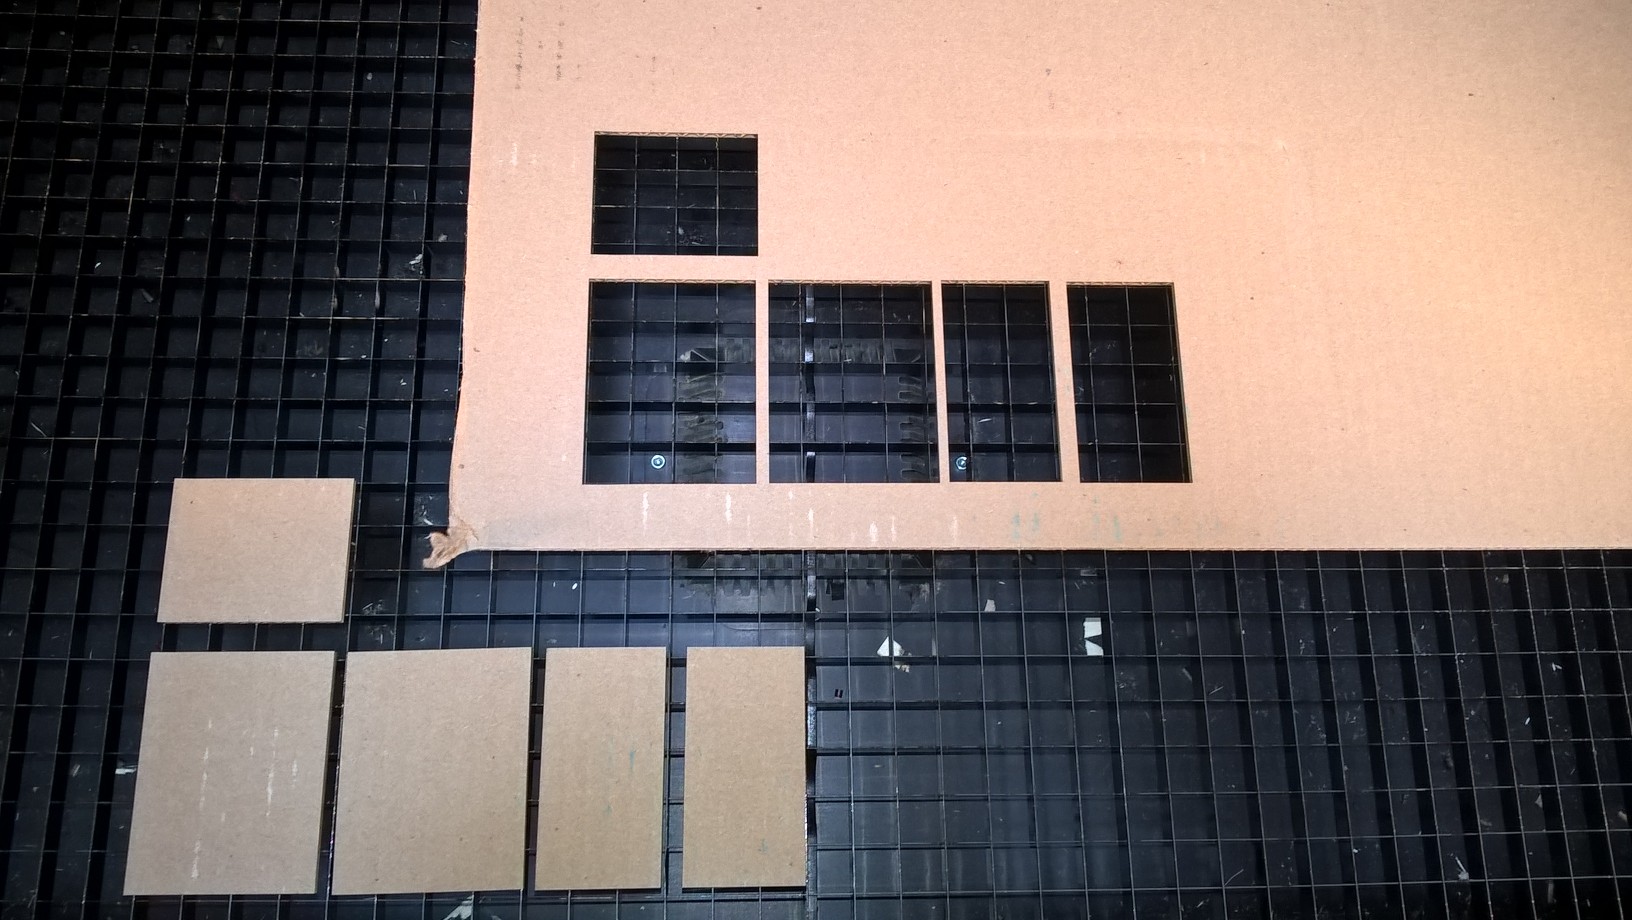
The Oomoo is really soft, so if used scotch to keep the mold toghere I would have damaged the final result. This is why I did a cartboard box with the laser cutter:
This is the final result. It's not really smooth, that's beacuse I had some hard times with the Roland (bad milling paramters):
Conclusions
I had the worst time of my ilfe working with the Roland. I had bad settings and it took me a long time to finish a bad mill. Anyway, once that part was done the last part of the assignment was really fun, I'd like to try to something else next days.Download
Positive Roughing Toolpath
Positive Finishing Toolpath
Negative Roughing Toolpath
Negative Finishing Toolpath

This work is licensed under a Creative Commons Attribution-ShareAlike 4.0 International License.